Smart Plant: Soil Moisture Sensor
Last year, I started using my indoor grow tent to plant edible vegetables and, at the same time, implement a control system using IoT. For this, I chose Arduino for its ease of programming and learning in prototyping. The system works very well, but little by little I have been iterating components and improving the system to reach something that gives me peace of mind. Warning: I'm just getting started.
In this post, I will not describe the entire process or every part I'm using, but instead, I will focus on a particular component: the soil moisture sensor.
Resistive Soil Moisture Sensor
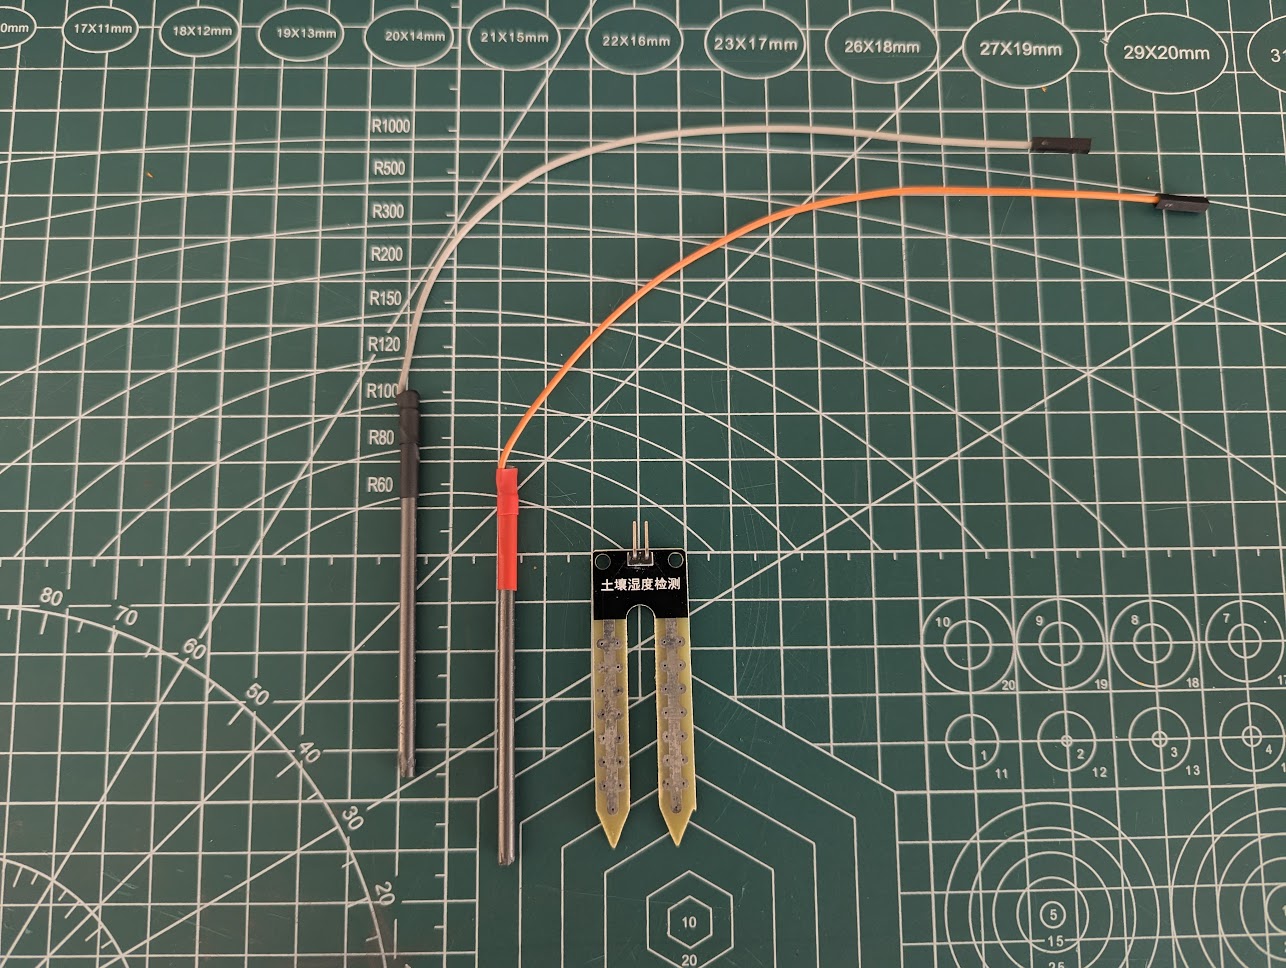
There are a variety of soil moisture sensors on the market, both capacitive and resistive. In my case, for simplicity and cost, I decided to use the resistive soil moisture sensor. These are extremely cheap; you can buy them on AliExpress and they are very reliable since they work by measuring the conductivity of electricity in the medium they are inserted into. Simply put, they are two rods that measure how much current passes through the soil where they are buried.
On AliExpress, a resistive soil moisture sensor costs around USD$1.5, and some can even be found for less than USD$1.
The problem with these sensors is that their durability is extremely limited. After installing my sensor and having it in my garden for 10 days, it started giving strange readings. Upon inspection, I found it was corroded and would soon be unusable. After reading a bit online, I was surprised that, being one of the most widely used sensors, very few people report its short lifespan.

DIY Solution
After some research, someone on a forum suggested using graphite and making your own sensor for greater durability. The concept behind the sensor's short lifespan is the chemical process involved in sensing moisture. Since the sensor operates in soil and moisture, constantly measuring the amount of current transmitted through the soil, the metal layers that make up the sensor tend to corrode. For wet environments, such as potted plants, corrosion is very fast, hence their short usefulness.
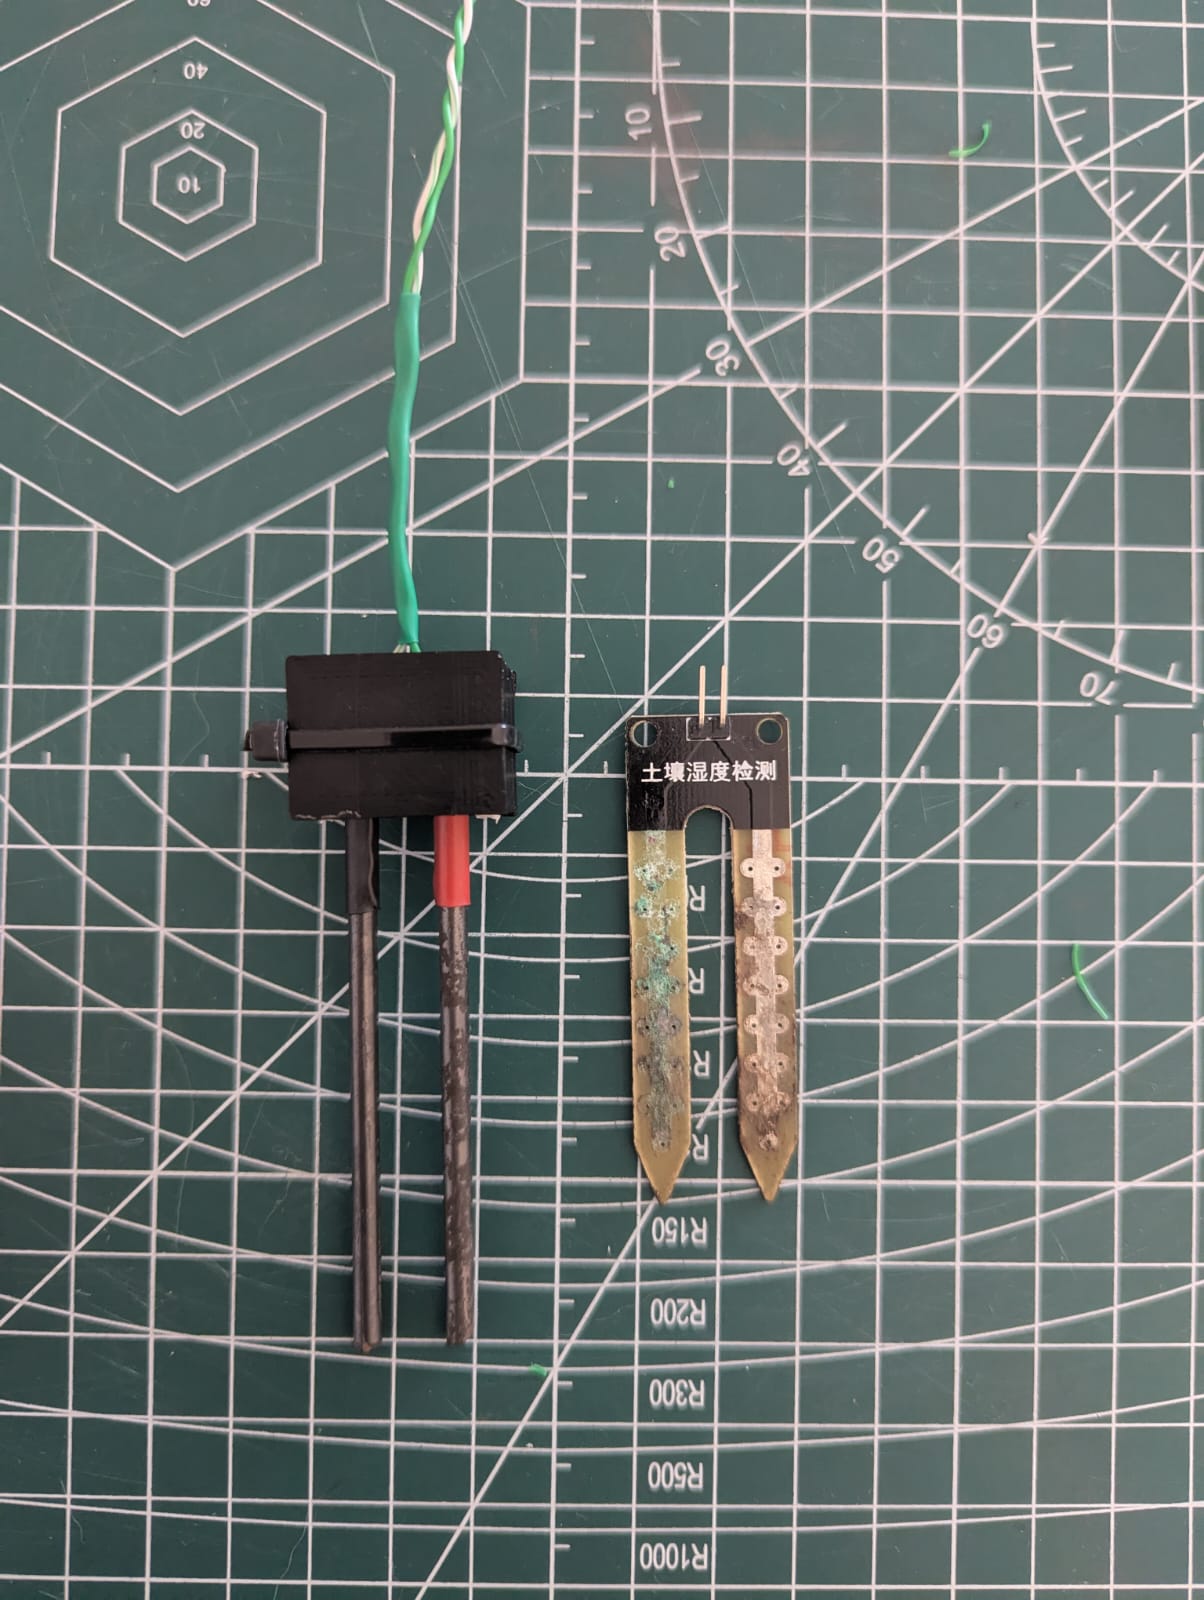
Given this, I made my own version of the moisture sensor. I used graphite pencils bought at the supermarket, with a graphite thickness of 3 mm. The result was as follows:

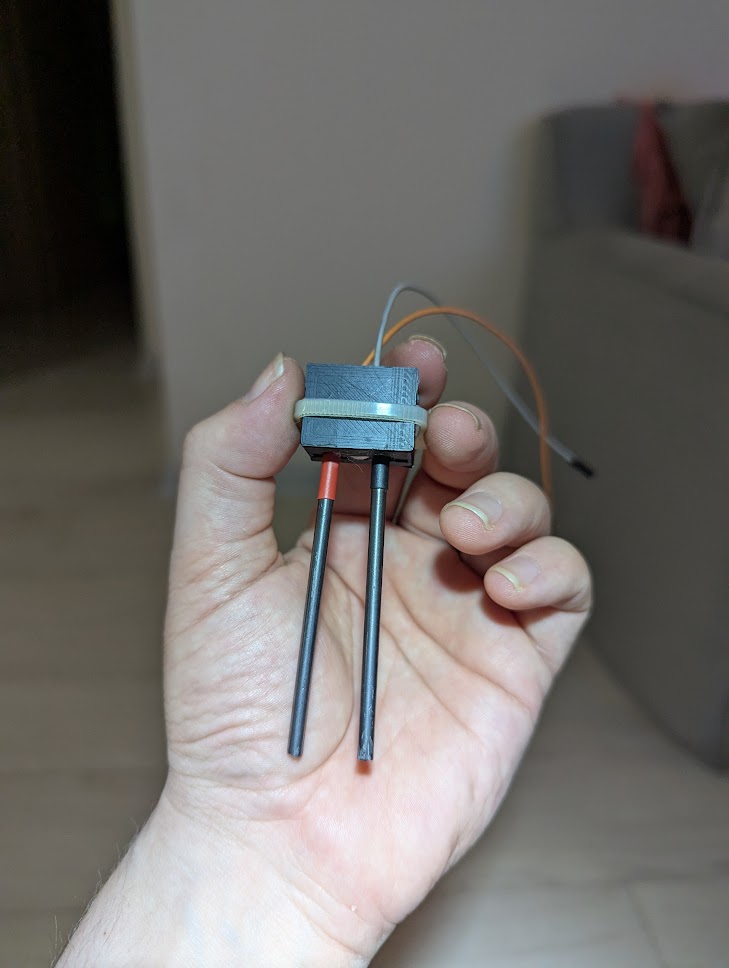
The cost of making this sensor is almost zero. The 3 pencils cost almost USD$3 and I used only one.
For the wires, I used Dupont cables, which must cost USD$0.1 or less. And theoretically, the sensor's durability is unlimited since graphite does not corrode like metal.
Improving the DIY Solution
Unfortunately, the decision to use Dupont cables for the sensor's power wires was not a good one. After about 15 days and due to excessive handling on my part, one of the Dupont cables broke.
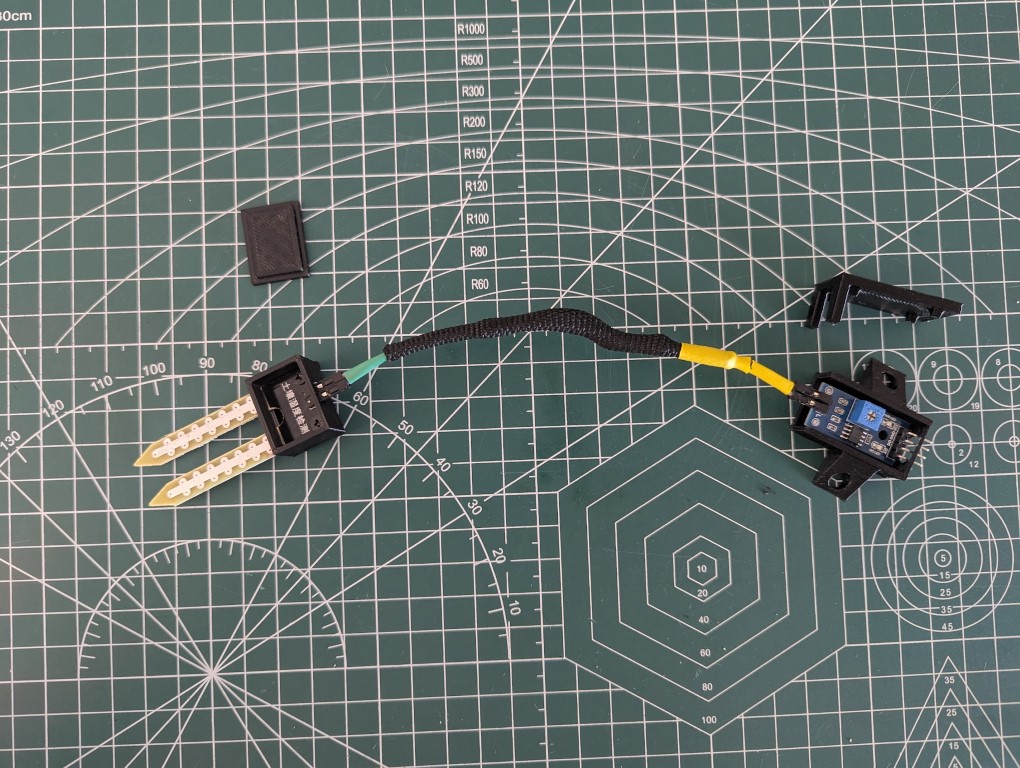
This led me to improve the power cables. Thus, I created a new iteration of the component, this time using CAT5E network cable. The result was as follows:
We'll see if this version lasts longer than the previous one.
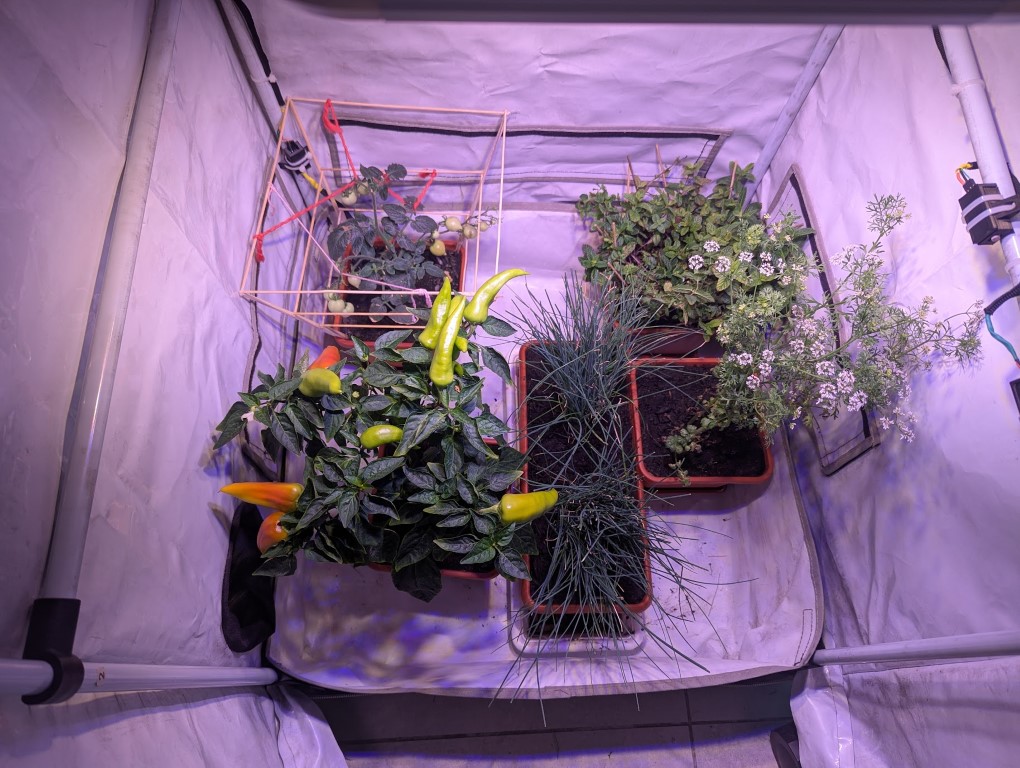
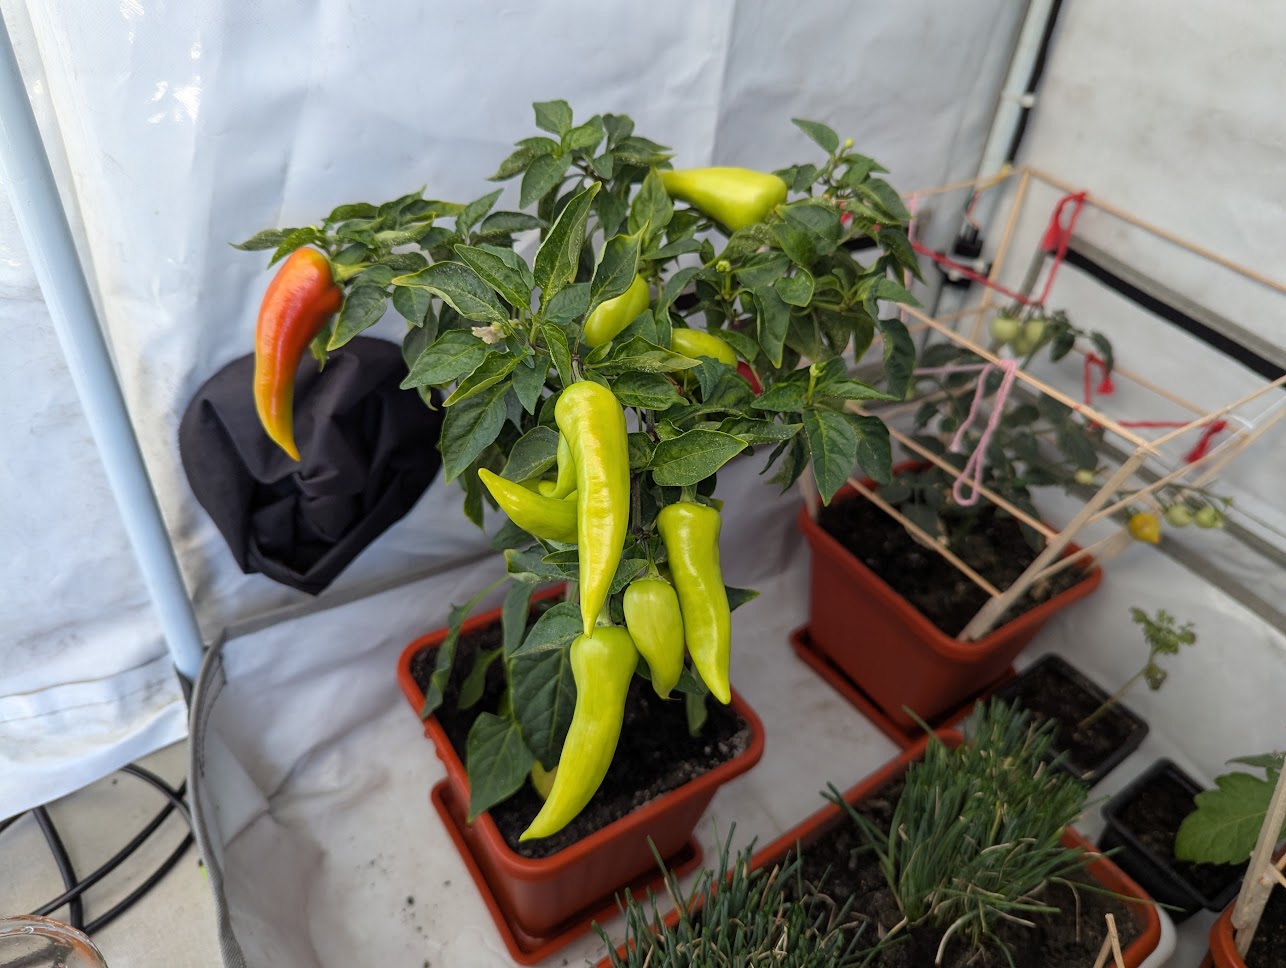
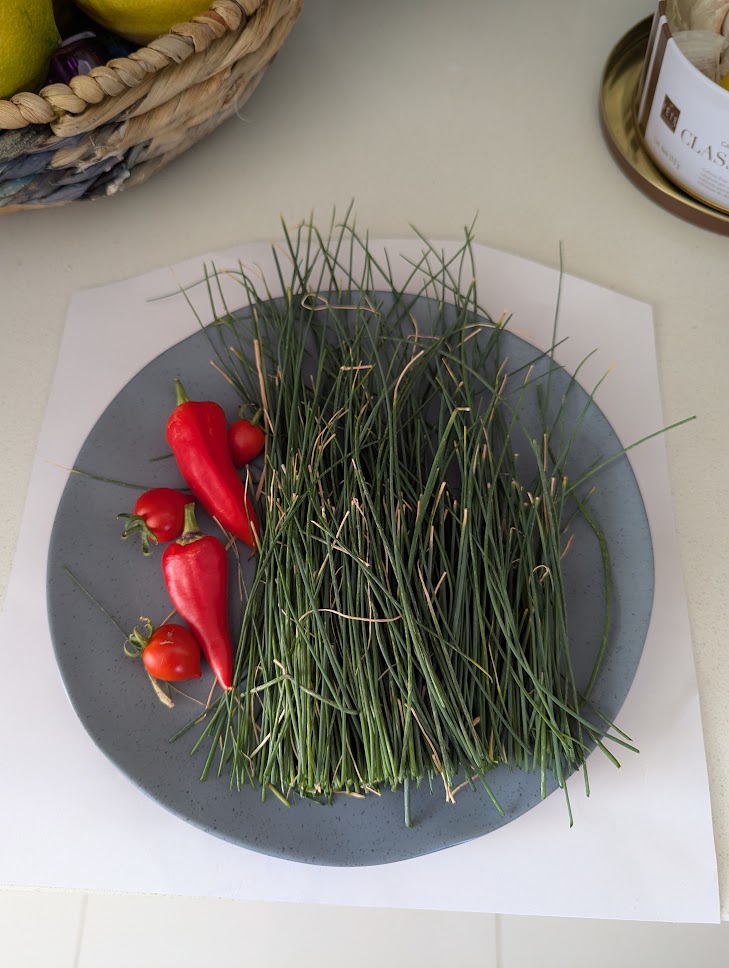
In the meantime, the garden is already starting to bear fruit.
Sensor Calibration
Calibrating the sensor is another story. If you want to be thorough, there is a strict protocol to follow.
For now, I am drying soil to calibrate my sensor, but that's a topic for another post.
As a record, here is the code I am using to calibrate this type of sensor.
/*
Script for the calibration of Soil Moisture Sensor
Last modified: 01/07/2025
Working with Arduino Uno R4 wifi
Sensors used: Custom Soil Moisture sensor made out of lead from a pencil.
Any resistive soil moisture sensor can be used. Before the lead pencil one
I used one from aliexpress:
https://www.aliexpress.com/item/1005006344637182.html
*/

#define moistSensorPin A0 // Pin for moisture sensor

/*
 * Soil Moisture Sensor:
 * ----------------------

 * Output of sensor is either 0 (water) or 1023 (air) by theory.
 *
 * Must be calibrated with this script to be able to read extreme conditions
 * and validate that 0 is water and 1023 is air.
 *
 * Calibration with small pot with soil
 *
 * 256 = full in water
 * 1021 = full in empty air

*/


// Setting up the script
void setup()
{
    Serial.begin(9600);
}

// Recurrent loop of the script
void loop()
{
    // Variable to store ADC value
    // ADC varies based on voltage( 0 to 1023 )
    int moistureLevel;
    // analogRead function returns the integer 10 bit integer (0 to 1023)
    // Read pin A0 where moisture sensor is connected
    moistureLevel = analogRead(moistSensorPin);

    // Print text in serial monitor
    Serial.println("Moisture Value: ");
    // Print analog value in serial monitor
    Serial.println(moistureLevel);
    //Set a delay of 2 seconds to space the reading
    delay(5000);
}